Home / News / Product News / Home Theater Wiring: Six Runs You Must Leave Before the Ceiling Closes
Home Theater Wiring: Six Runs You Must Leave Before the Ceiling Closes
2026-11-13 · Product News
Verdict: what has to be in place before the ceiling is closed is not "one cable" but six separate runs
The most common mistake in home cinema wiring is to treat it as pulling a cable from the amplifier to each speaker. What really has to be fixed before the ceiling is closed is six runs that are unrelated to one another: the left main speaker, the right main speaker, the centre, the two surrounds, and the subwoofer signal line, plus one HDMI from the player position to the display and a power outlet at every position.
If the position of any one of those six is wrong, the later choice is either taking the ceiling down or accepting a skewed sound stage. What follows is set out in the order: fix the positions, then the cable, then the sign-off.
1. Fix the positions before discussing cable
The number of cables follows from the positions, and the reference for the positions is the sofa, not the TV wall.
| Channel | Reference for the position | Common mistake |
|---|---|---|
| Left / right main speakers | Symmetric about the centre line of the sofa, at an included angle of about 60° | Following the width of the TV cabinet, wide on one side and narrow on the other |
| Centre | Directly below or directly above the centre line of the screen | Stuffed into a compartment of the TV cabinet, so dialogue sounds muffled |
| Side surrounds | 10–20° behind the two sides of the sofa | Mounted square beside the sofa, so the sound sits right on the ear |
| Rear surrounds (7.1) | 40cm or more behind the sofa | Forcing 7.1 when the sofa is against the wall |
| Subwoofer | Not tight into a corner, and able to be moved | Cast into concrete in a corner in advance, with no way to adjust it later |
Leave the subwoofer signal line a little longer (3–5m), because the subwoofer is the one piece of equipment that is worth repositioning later: a different position can make the boom in the low end differ by a factor of two.
2. How the six runs are actually left
| # | Cable | Specification | From where to where |
|---|---|---|---|
| 1 | Left main speaker | 2×1.5mm² or 2×2.5mm² speaker cable | Cutout for the left speaker → amplifier position |
| 2 | Right main speaker | As above | Cutout for the right speaker → amplifier position |
| 3 | Centre | As above | Centre position → amplifier position |
| 4 | Surrounds ×2 | As above (one run for each side) | Surround positions → amplifier position |
| 5 | Subwoofer | RCA coaxial (75Ω) | Subwoofer position → amplifier SUB OUT |
| 6 | HDMI | 2.0 or above, Ethernet is an advantage | Player position → projector / TV |
Two more items are easy to forget: power at every position (with a wireless arrangement in particular, every enclosure needs mains) and one network cable (the player, the projector and any smart home equipment all make use of it, and adding it later is the most troublesome of the lot).
3. Three dimensions that have to be settled before anything else
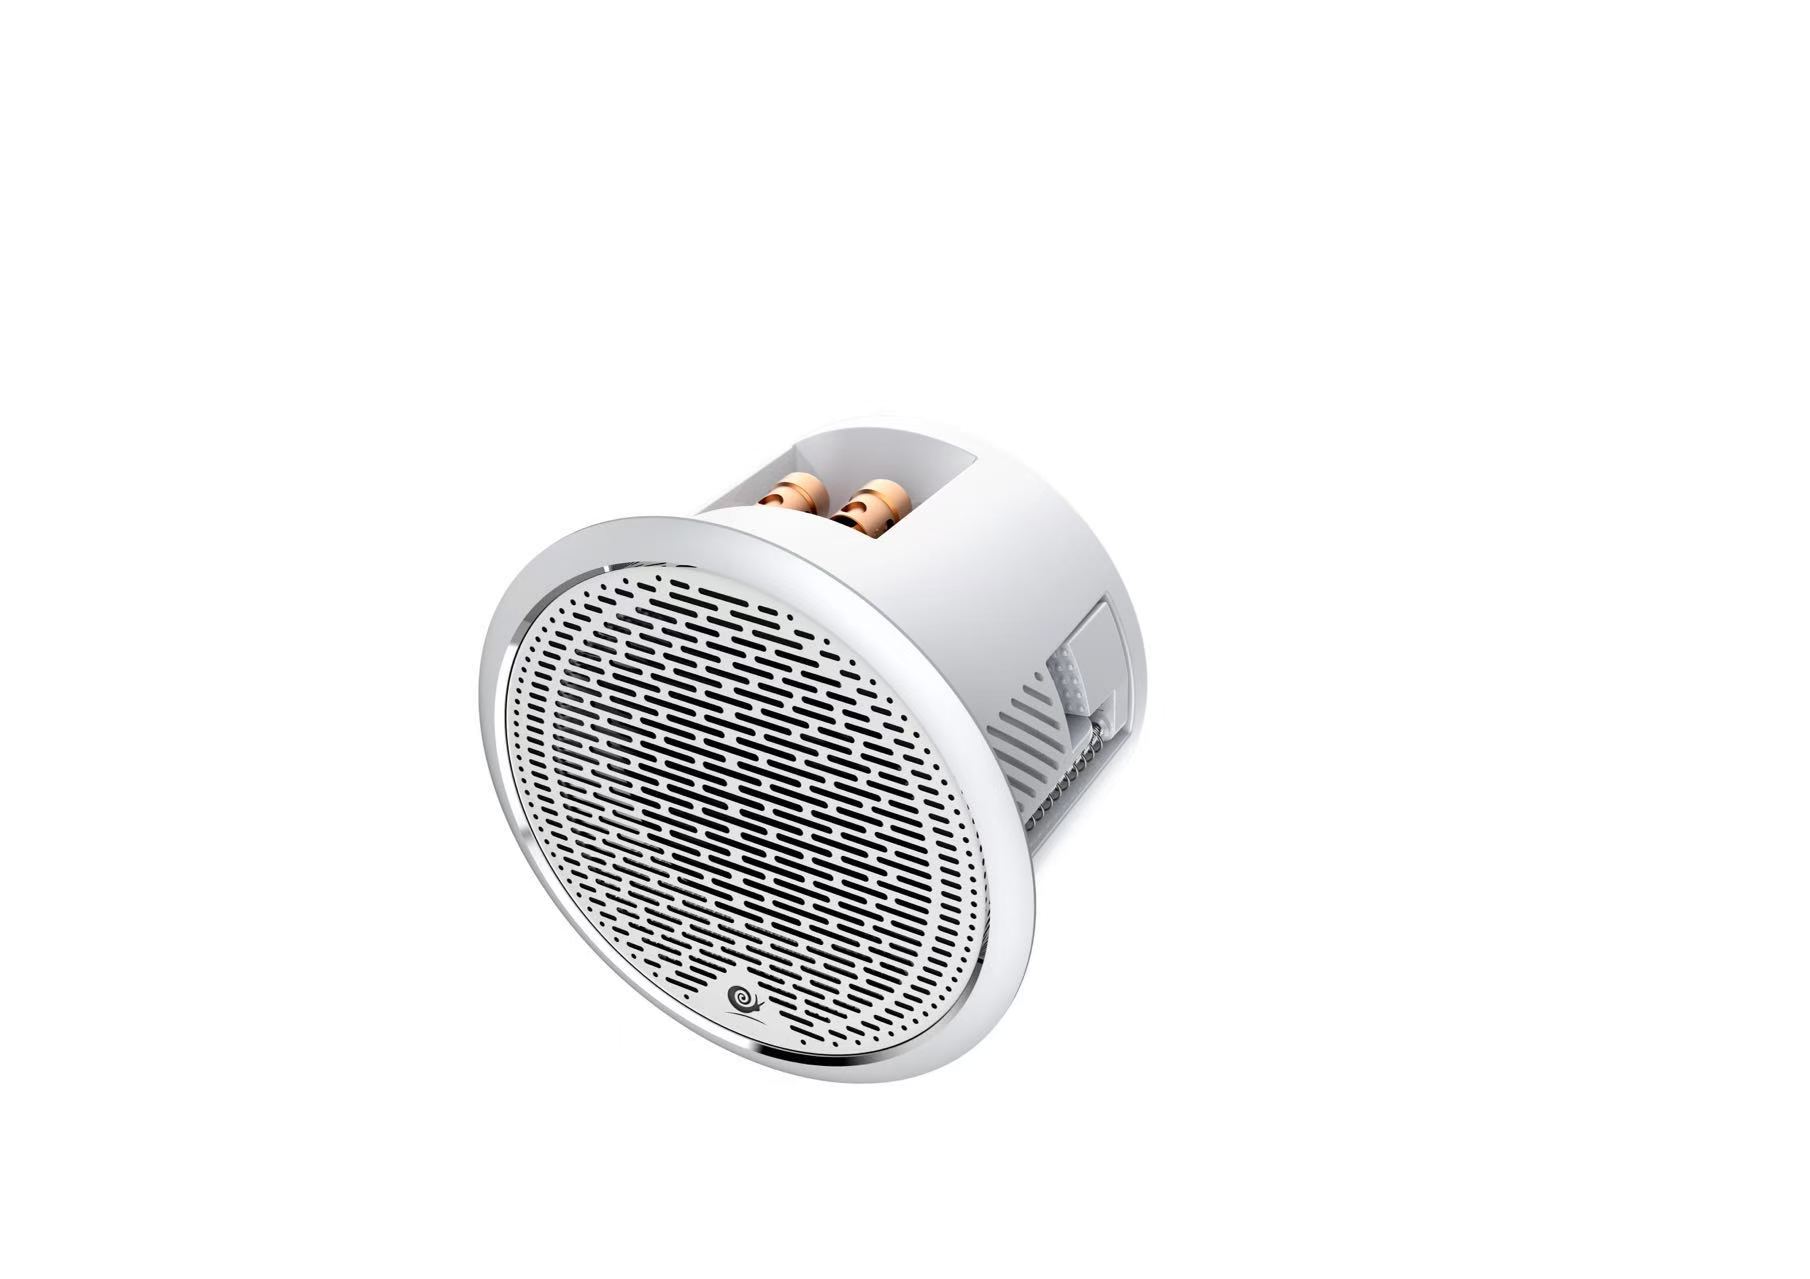
- Ceiling clearance: measure upward from the finished surface, deducting the framing and the plasterboard. The IW3max enclosure is 66.5mm, so 70mm or more of clear space is needed in practice; where the ceiling is described as 7cm, 6cm is often all that is left once it is built.
- Cutout size: the IW3max cutout is Ø85mm and its faceplate Ø100mm; the CW90 cutout is Ø90mm and its faceplate Ø105mm; the IW6 WIDE cutout is 186–191mm and its faceplate Ø202mm. The cutout is the hole and the faceplate is the cover, and the two figures must not be mixed up.
- Framing position: the cutout must not cut into a main joist, so the position has to give way to the framing by 5–10cm, which is another reason the positions have to be fixed before the ceiling is closed.
4. The order of work (get it wrong and the job has to be redone)
- The mains and low-voltage stage: mains, low-voltage and network cable all in place in one go, with speaker cable and mains cable in separate conduits, at least 30cm apart.
- Ceiling framing: reserve the cutout positions according to the layout, lead the cable from each opening to the amplifier position, and leave 50cm of slack.
- Before the ceiling is closed: test continuity on every run and record it in photographs (for comparison before any later drilling).
- Close the ceiling, skim and paint: by this point the cable is buried and the positions can no longer be changed.
- Install the speakers: cut the openings, connect, fix in place, and commission the system as a whole at the end.
The photographs at step 3 are what saves the job: later work on lights, on blinds, or any drilling relies on those images to keep clear of the conduit.
5. Common questions
Q: How thick does speaker cable need to be?
Within 10m, 2×1.5mm² is enough; beyond 15m, or on a high-power system, use 2×2.5mm². Cable that is too thin makes the low end loose.
Q: Can the wiring be skipped and wireless used later?
It can, but power has to be left at every position. What wireless saves is the audio cable, not the electricity.
Q: Should surround cable go through the floor or through the ceiling?
Through the ceiling is more discreet, through the floor is easier to service. If the ceiling is already being built, run it through the ceiling; if the floor is tiled and cutting a channel is not wanted, run it through the ceiling.
Q: Can ordinary audio cable stand in for subwoofer cable?
Over a short distance it will make sound, but over a long distance it picks up noise easily, so 75Ω coaxial is recommended.
The judgement in one sentence
Wiring is a one-time decision: once the ceiling is closed, every position is sunk cost. Settle the sofa, then the positions, then count the cable; six runs plus two power outlets plus one network cable, left in one go, costs a tenth of what adding cable later costs.