1. Definition: a built-in cinema is two methods, not one
A built-in cinema hides the loudspeakers inside walls and ceilings and leaves only a grille. Cabinet depth runs from 66.5 mm to 125 mm and packages start at ¥17,200; it suits rooms still in renovation that do not want to see speakers. It takes two forms: in-wall (left, centre and right in the front wall, surrounds in the side walls) and in-ceiling (flush or recessed, including the .2/.4 height channels of Dolby 7.1). Both use the same cabinets, but imaging and sequence differ — settle the method first, then the model.
Cost: Both turn the renovation window into a hard constraint. Close the wall and the holes and cables are fixed.
2. Key points
- In-wall answers "sound from the picture"; in-ceiling answers "sound from above". Two needs, not one need moved.
- The in-wall core is three front LCR plus two side surrounds; in-ceiling height channels for Dolby 7.1 can only live overhead.
- Cutout is the hole you drill, bezel is the cover you fit: IW3max is Ø85 mm cutout, Ø100 mm bezel.
- 7 cm of clearance is the IW3max limit (66.5 mm cabinet), not its margin. Build to 8 cm.
- The earlier the method is fixed the cheaper it is.
Cost: The easiest of those to read too loosely is the fourth. 7 cm is a limit, not a recommendation.
3. In-wall: three in the front wall, imaging in the picture
Left, centre and right go into the front wall, the centre aligned to the picture centre with the tweeter near seated ear height; the surrounds sit in the two side walls, level with or just behind the listening position. Sound leaves from the picture, so dialogue matches the face — what a cinema does.
It does not fix "the speakers look ugly"; it moves the cabinet out of the room layer. The cabinet stays in the cavity and only a grille remains, which is why an in-wall speaker reads as volume-free.
Sequence: screen size → LCR centre and height → cavity in masonry or joinery → conduit and cable → close boards and cut → fit → skim. Cut first and settle the screen later, and the positions will be wrong.
Cost: The front wall gives up around 10 cm of cavity, and that thickness is real. A load-bearing wall cannot take a 186–191 mm hole (the IW6 WIDE cutout). Short side walls leave the surrounds nowhere to go.
4. In-ceiling: up top, including the Dolby 7.1 height channels
Cabinets go into the ceiling with the drivers facing down. Two uses, and mixing them up is where jobs fail:
- Height channels: Dolby 7.1 adds two (.2) or four (.4) channels above the floor layer, and those can only be overhead. This is where in-ceiling work cannot be replaced.
- The whole system up top: seven cabinets in the ceiling, the sound arriving from above.
The second suits small rooms with untouchable walls: drivers face down, so the further off axis you sit, the faster the top end falls.
Sequence: downlights and vents → clear the main joists → cutouts at least 30 cm from any downlight → conduit → close boards and cut → fit → finish. Lights outrank speakers.
Cost: In-ceiling work cannot match in-wall separation — both cabinets overhead squeeze the image into a line, and on a large picture the dialogue floats above the faces. Check certification by model: AV-700 III carries Dolby and DTS, AV-900 II carries Dolby only. Do not extrapolate from a series name.
5. Imaging and sequence: the difference in one table
| Dimension | In-wall | In-ceiling |
|---|---|---|
| Image source | Front wall, from the picture | Overhead, vertical |
| Dialogue position | Same height as the picture | Above, drifts on a large picture |
| Left-right separation | Strong, spread by side walls | Weak, both points overhead |
| Prerequisites | ~10 cm front-wall cavity, usable side walls | ≥7 cm clearance, joists that give way |
| Construction window | Before the wall or joinery closes | Before the ceiling closes |
| Fix first | Screen size, then LCR height | Downlights, then cutouts |
| Service access | Grille off, unit out through the hole | Same, clear of joists and pipes |
| Main cost | Eats wall thickness, no big holes in load-bearing walls | Top end falls with angle, weak separation |
Mount the same cabinet in a wall and in a ceiling and the apparent direction changes: height judgement is coarser than left-right, so sound from above blends while sound from straight ahead separates cleanly — the basis for dialogue in the front wall.
Cost: The two sequences cannot be mixed. Ceiling first and the front-wall cable loops over the ceiling; speakers fixed before the screen and the LCR height can only compromise.
6. Cutout ≠ bezel: five real in-wall dimensions
The cutout is the hole; the bezel is the cover over it, roughly 15 mm larger across. Cut to the bezel and the cabinet drops through; fit the grille to the cutout and the edge shows.
| Model | Cutout | Bezel (outer) | Depth / clearance | Max SPL | Role |
|---|---|---|---|---|---|
| Mini | Ø80–85 mm | Ø91 mm | >80 mm | 111 dB | Small rooms, surrounds |
| IW3max | Ø85 mm | Ø100 mm | 66.5 mm / ≥70 mm | 110 dB | Mainstay, LCR and surrounds |
| CW90 | Ø90 mm | Ø105 mm | >100 mm | 111 dB | Wireless, retrofit |
| IW4pro | Ø105 mm | Ø120 mm | >100 mm | 110 dB | Large rooms, high dynamics |
| IW6 WIDE | 186–191 mm | Ø202 mm | 125 mm | 109 dB | Double height, villas |
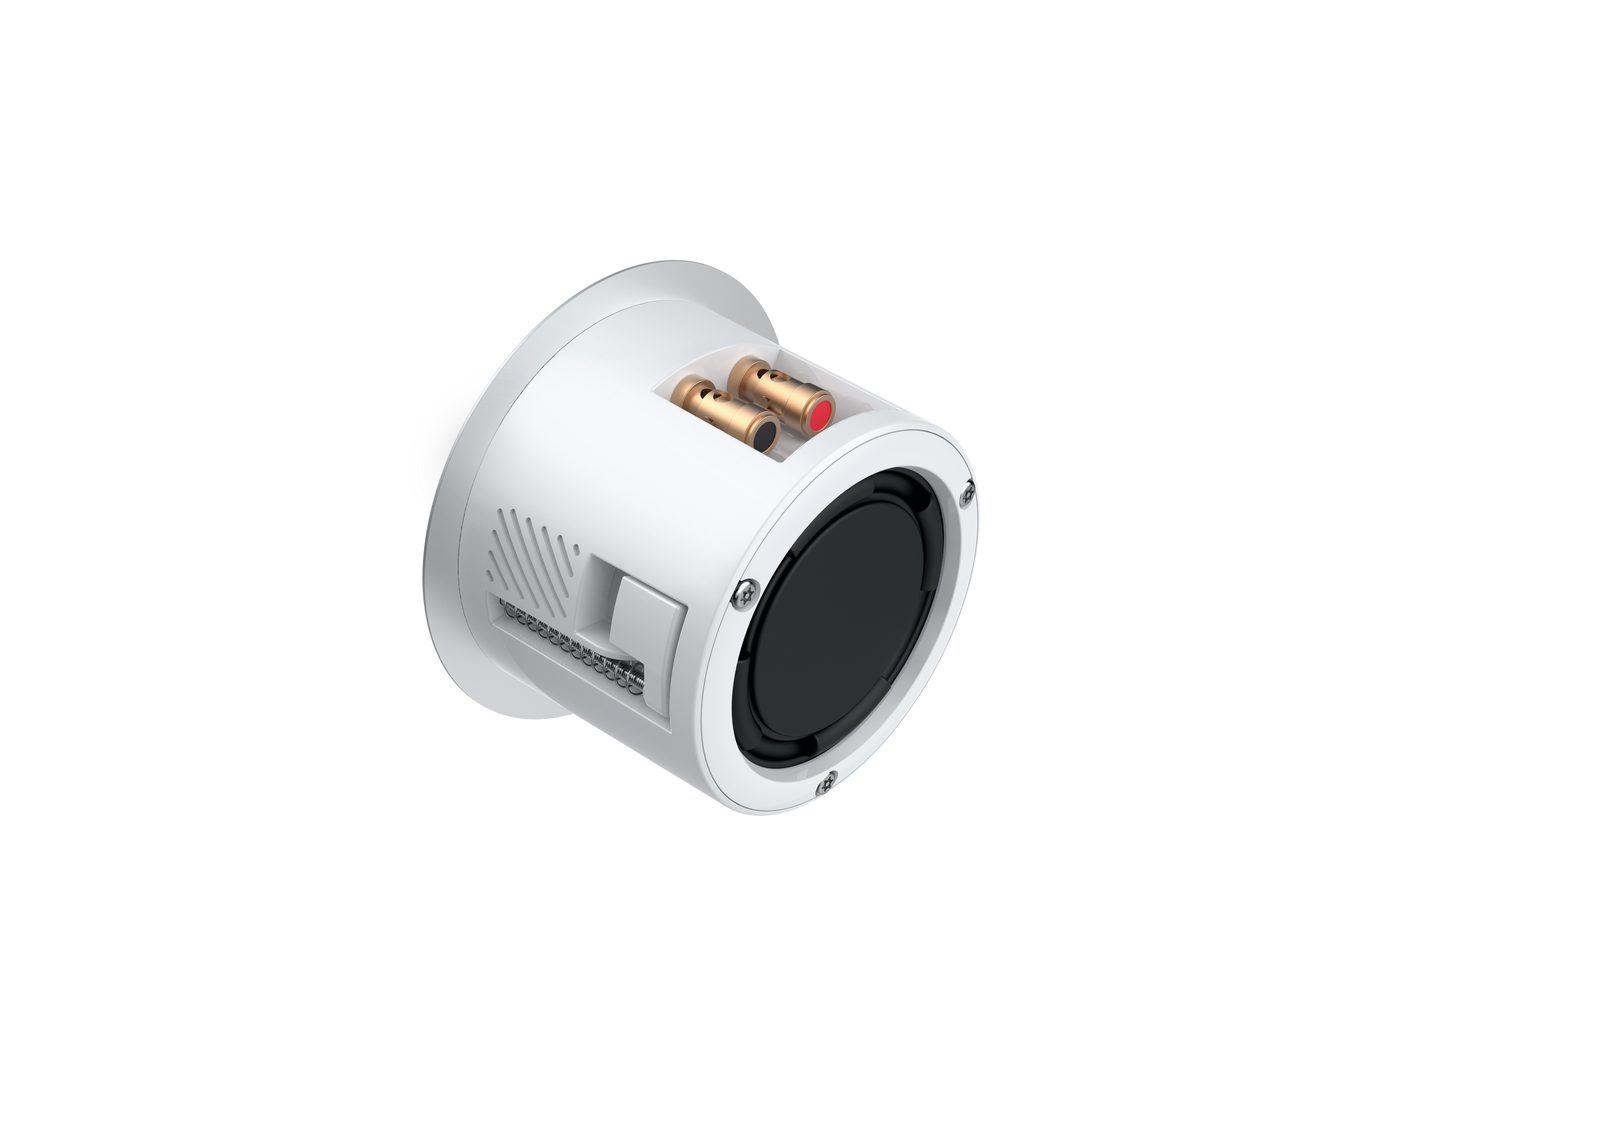
Mini takes a Ø80–85 mm cutout with a Ø91 mm bezel and reaches 111 dB — a small driver with power and peak management, not a bigger box. CW90 takes a Ø90 mm cutout with a Ø105 mm bezel and runs 5.8 GHz wireless, so it can be added after decoration.
Cost: Once the saw goes in, the cutout is permanent. Too large means patching and skimming again, and that seam shows within two years. The 15 mm rim is the finishing allowance; press paint too far and the grille lifts.
7. Ceiling clearance: 7 cm is the IW3max limit, build to 8 cm
The IW3max cabinet is 66.5 mm deep and needs ≥70 mm of clearance. So 7 cm is the limit for this cabinet, not its margin. Build to 8 cm and give the extra centimetre to joists, conduit and skim.
Measure from the finished ceiling to the slab, minus joists, conduit and ducts. Ducts, not joists, eat most of it.
IW3max is the genuinely thin one. Mini has a Ø91 mm bezel but needs a cabinet over 80 mm, so it demands more clearance; IW4pro and CW90 need over 100 mm, IW6 WIDE 125 mm. On a 2.7–2.8 m floor with a 20 cm ceiling, what is left usually fits only the IW3max class.
Cost: On a 7 cm perimeter drop, forcing an IW3max in means building at the limit — a joist slightly off or skim slightly thick and it will not fit. There, either go in-wall at the front and leave the ceiling blank, or drop the height channels.
8. Price: where each method starts
All figures are package starting prices, quoted as channels, subwoofer and amplifier — never by package name. Two packages both called 5.1 can differ twofold, and the gap is in the subwoofer and the amplifier.
| Package | From | Usual method | Key dimension |
|---|---|---|---|
| CW90-W10 5.1 wireless | ¥17,200 | Ceiling or wall, retrofit | Ø90 mm cutout, power at each unit |
| Mini 5.1 | ¥21,000 | Mainly ceiling | Ø80–85 mm cutout, cabinet >80 mm |
| IW3max-C110 5.1 | ¥23,600 | Mainly in-ceiling | Ø85 mm cutout, ≥70 mm clearance |
| IW4pro 7.1 | ¥33,200 | Ceiling or wall | Ø105 mm cutout, clearance >100 mm |
| IW6 WIDE 7.1 + X135 | ¥55,800 | Ceiling or wall, double height | 186–191 mm cutout, 125 mm deep |
The bass division of labour sets that gap: the subwoofer takes the low end, the full-range units run easy, which is why a small IW3max can carry the main channels. More dynamics means IW4pro or IW6 WIDE.
Cost: None of this includes joinery, cutouts, skim or cable labour. Add it and a built-in cinema can cost half again as much as the loudspeakers.
9. When neither method works
- Load-bearing front wall, no joinery: in-wall is out; go on-wall or move to the ceiling.
- Under 8 cm of clearance, full in-ceiling theater wanted: out. Building at 7 cm leaves zero tolerance.
- Boards closed, no way to add power: only wireless options such as CW90 remain, and every cabinet needs a power point.
- Planning to move the speakers later: out. Cutouts are permanent.
- Sensitive neighbours below: build a floating floor first. Waveguide aiming and passive radiators handle sound in the room, not the slab.
- Ceiling under 2.4 m with a full height layer: you lose on sightlines first.
Cost: None of these is a "put up with it" item. Choose the wrong method and the only thing left to move is the furniture.
10. One-line judgement
Front wall usable, side walls long enough, boards still open: go in-wall. Walls untouchable and Dolby 7.1 height channels wanted: go in-ceiling. Need both: in-wall at the front plus height channels above — the most common combination, and the most expensive. Both rest on one condition: cutouts fixed before the boards close, 8 cm of clearance. Decide after the boards are up and the cost stops being about loudspeakers.
Cost: The combined route puts money at the two tightest points: 10 cm of wall cavity behind the front wall and 8 cm of clearance overhead. Miss one and it collapses to a single method.
Related articles
- Embedded Cinema: Walls, Ceiling, Seats First
- CW90 Speaker Power: What 90W per Unit and 111dB Actually Mean
- IW3mini + B28, Long Cut: A Full 5.1 Handover in 46 Seconds (Video)
END
#嵌入式影院 #天花影院 #入墙式音箱 #开孔 #IW3max #蜗牛音响
Written by 数码小牛 (Digital Xiaoniu)